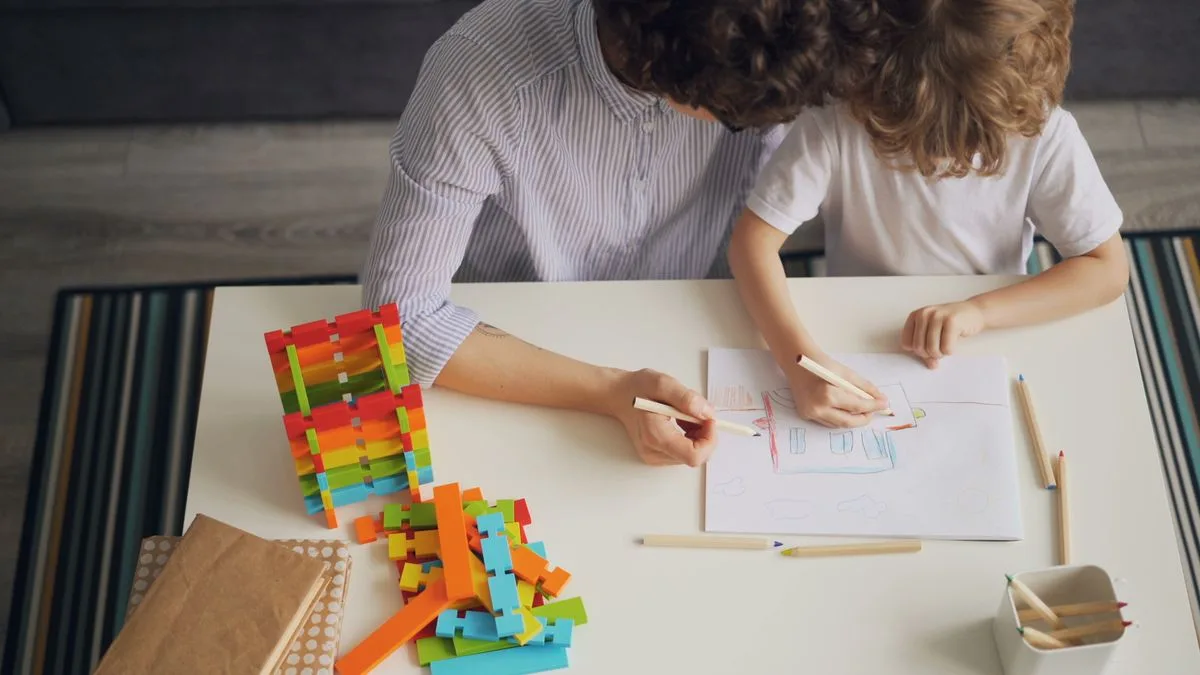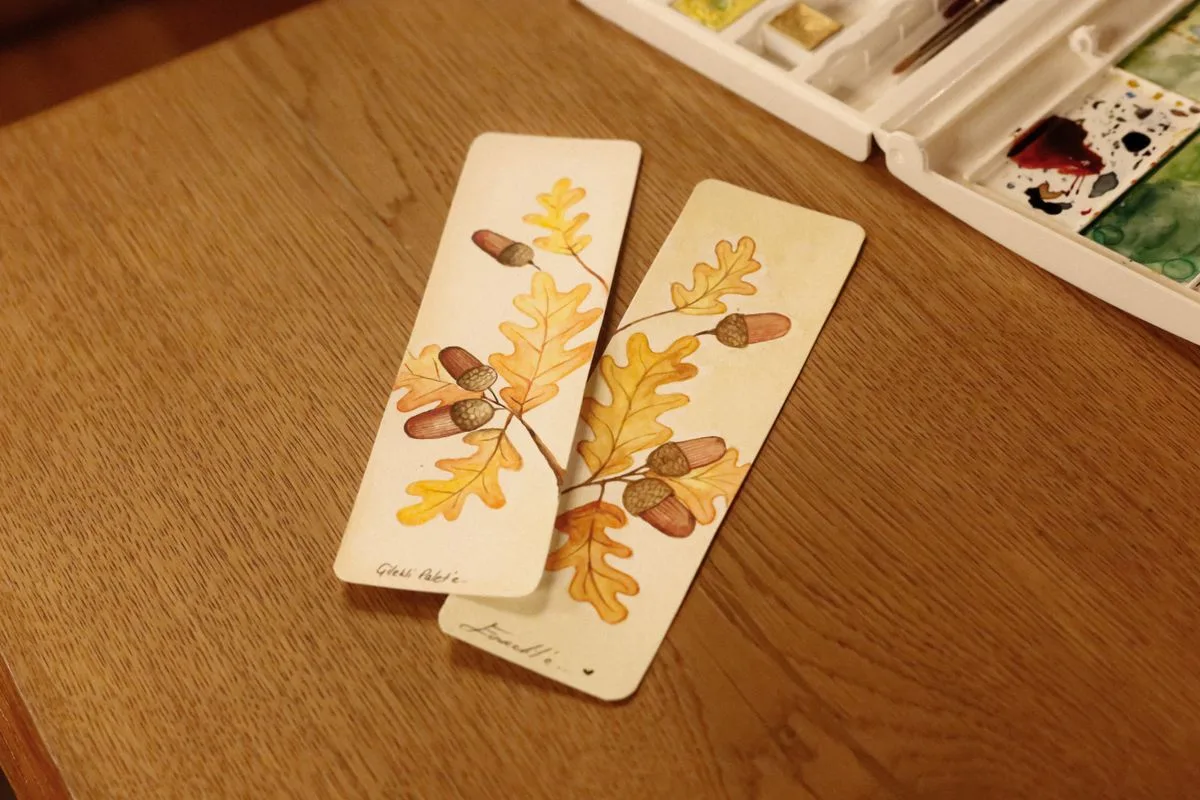
A bookmark is a small craft with an obvious job. Children can decorate a narrow piece of card, try it inside a book and see whether it works. The project needs little space and can accommodate bold marks, careful patterns or a brief written message.
Use clean card, crayons or pencils and age-appropriate scissors with support. An adult can prepare blank strips before younger children arrive at the table.
Start with the book it will fit
Choose an ordinary book and compare its height with the proposed bookmark. A strip that sits mostly inside the pages, with a little visible at the top, is easier to use than something enormous. Leave enough width for decoration without making it bulky.
Cereal-box card can work if the surface accepts your chosen materials. Try a small mark first. Glue plain paper to printed card if needed, then let it dry flat before decorating. Keep the reverse smooth so it does not catch on pages.
Make several blanks, but offer one at a time. A large pile can make children feel they are starting a production line rather than making something personal.
Choose decoration that stays flat
Draw stripes, creatures peeping over the top, repeated shapes or a small scene. Older children might write a quotation of their own or a friendly message for the person who will use it. Younger children can fill the strip with colours without needing a recognisable subject.
Avoid thick decorations, loose glitter and bulky glued objects that could fall off or distort the book. Flat paper shapes are enough if children want collage. There is no need for a tassel or ribbon; the bookmark already has its useful form.
Turn the strip over and decorate the other side only after the first is dry. A name or small symbol can help distinguish siblings' designs.
Check it between real pages
Place the bookmark inside the chosen book and close it gently. Does the top show enough to find? Does the card bend sharply or push against the spine? Trim an oversized design with the child's agreement.
If the bookmark slips out, make it a little wider next time or choose a book with pages that hold it more comfortably. Avoid fixing it to borrowed books with tape or clips. A loose bookmark should be easy to remove without changing the book itself.
Let children decide whether to keep the finished piece, give it away or make a second attempt. A design that becomes a tiny picture instead has still been worthwhile to make.
Pair each bookmark with a destination
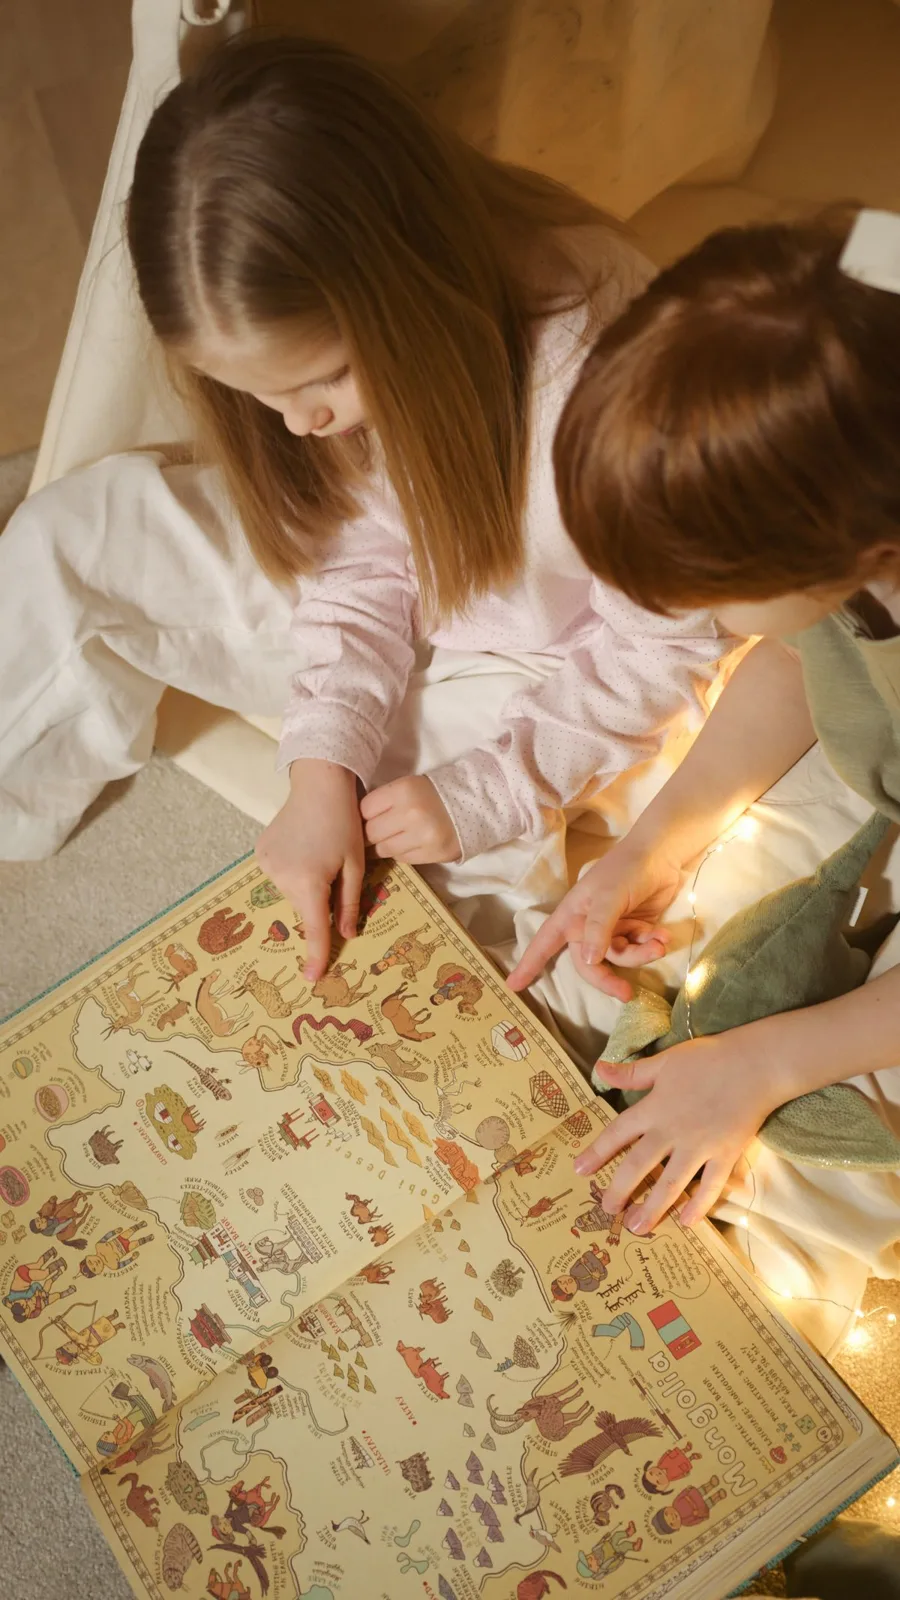
Put the finished bookmark into a current reading book once all materials are dry. For a gift, add the recipient's name on a separate note rather than assuming every decoration needs a dedication.
Store spare blanks and unused card flat with the drawing supplies. Clear scraps from the table and save only pieces large enough to use again. The afternoon can end with one shared page of reading and a new bookmark ready for the next chapter.
Make it work for your family. Keep the useful bits and change the rest.